
Introduction
This topic covers setting up, editing, and assessing finance charges for late payments and overdue accounts to customers. Interest rates, grace periods, minimum charges and other settings are available options for set up. This feature works by creating new invoices containing the appropriate fees to customers.
Form Access
-
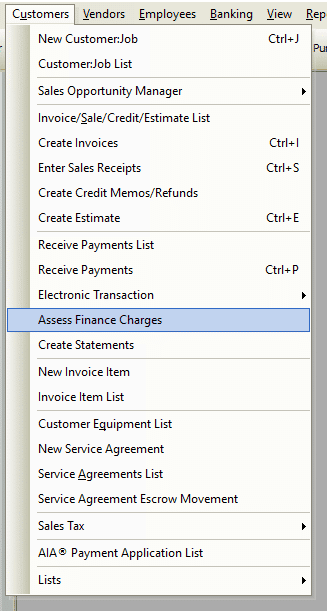
From the main menu, click Customers | Assess Finance Charges.
Field & Button Definitions
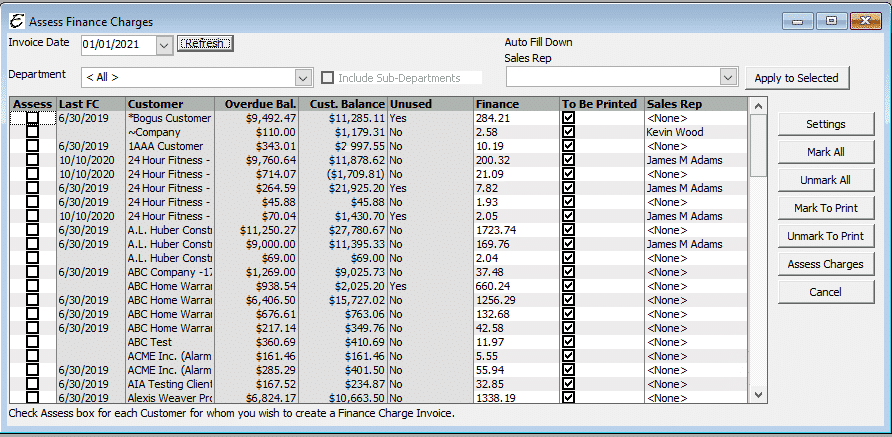
- Invoice Date – The date that will appear on the invoice that is created for these charges.
- Department – Use the drop down menu to select a particular department to filer results.
- Sales Rep –Use the drop down menu to select a particular department to filer results.
- Apply to Selected – Click to filter Department and/or Sales Rep filer options.
- Assess – Customers having a tick in this checkbox are staged for finance charge assessment.
- Last FC – The date of the last finance charge (if any).
- Customer – The customer to whom the finance charges will be assessed.
- Overdue Bal. – The customer’s past due account balance.
- Cust. Balance – The customer’s total balance, including current charges not past due.
- Unused – Short for “Unused Credits”, indicates the existence of credits which may have been issued to a customer but not yet applied to their account.
- Finance – Displays the amount of the finance charge about to be assessed.
- Sales Rep – Sales Rep listed on the Customer:job record
- To Be Printed – If checked, the invoice that is created will be marked so that you can print it later as part of a batch print job along with other invoices.
- Settings – Used to define how the finance charges will be assessed. For more information, see the related topic, “Finance Charges – Settings” below.
- Mark All – Ticks every checkbox in the “Assess” column.
- Unmark All – Clears every checkbox in the “Assess” column.
- Mark To Print – Ticks every checkbox in the “To Be Printed” column.
- Unmark To Print – Clears every checkbox in the “To Be Printed” column.
- Assess Charges – Initiates the finance charge assessment process. Depending on the number of customers and the amount of information to process, this make take up to several minutes.
- Cancel – Closes the form without assessing finance charges (as long as the “Assess” button has not been clicked).
Step-By-Step
-
Open the form as noted above.
-
Tick each checkbox in the “Access” column for each customer in which to assess finance charges.
-
Click the Settings button and establish your rules for applying charges (if needed).
-
If you wish to print the invoices later, check the To Be Printed option as needed.
-
When you have completed your work on this form, double check your work and click the Assess Charges button.
Tips
- How Total Office Manager calculates finance charges? Total Office Manager uses the following formula to calculate finance charges: (Number of days past due * balance due) * (finance charge rate as %) / 365.

