

Using Timesheets to Track Worker’s Compensation
Total Office Manager offers a Worker’s Compensation Tracking feature. This feature allows you to assign a Worker’s Compensation Code to your Employees’ timesheets to track those wages by earning item or Employee. To use this feature, you will need to enable the Preference under the Payroll options in the main preferences section. Once enabled, you can then setup your Worker’s Compensation to work in your company database.

Usage and Form Access
- Setup the Worker’s Compensation Codes (Employees | Lists | Worker’s Compensation Code List).
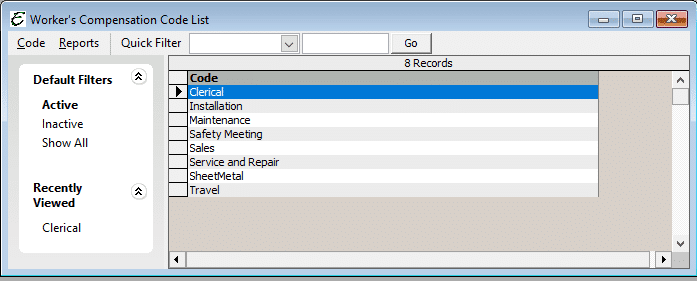
Sample Code List - Edit the Employee Payroll Items Codes (Employees | Employee List | right click and choose Employee Payroll Items).

Employee Payroll Items File Path - Assign the appropriate Compensation Code to the Employee as the Default. This will ensure that a code is assigned to all Time Sheet entries.
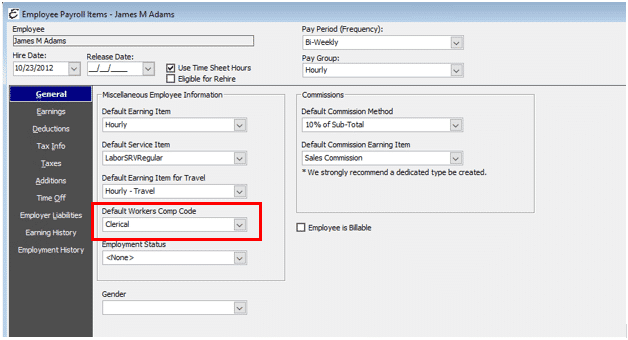
Default Worker’s Comp Code - Enter your Employee’s Time Sheet Hours Codes (Employees | Timesheets/Time Tracking).

Sample Weekly Time Sheet Note: Once an Earning Type is selected, the Employee’s default WC Code is auto-populated on the Time Sheet line entries. You can change this selection if need be in the drop down.
- After processing your payroll, you can then run reports that will show you information that is tied to Workers’ Compensation. There are two options for viewing reports – Worker’s Compensation by Earning Items and Worker’s Compensation by Employee. These reports can be viewed by going to Reports | Payroll | Worker’s Compensation. Examples are provided below.


Report Options – Worker’s Compensation By Earning Items Report

- Date Range – Select a predefined date range (i.e. Last Week, This Week, Last Month, This Month).
- From/To – Manually set the date range for the report.
- Worker’s Compensation Code – Choose to view all Codes are select a single code to be displayed.
- Earning Item – Choose to view all Earning Items or select a single item to be displayed.
- Include Inactive – This option will display all Worker’s Compensation Codes, active and inactive.
- Include all Timesheet Entries – This option will display all timesheet entries for the date range selected whether or not there is a Worker’s Compensation Code assigned.
- Cancel – The Cancel button closes the window.
- Preview – The Preview button will show an on-screen display of the report, from which a hard-copy can be printed. The preview screen is also capable exporting the report in a PDF format for email use. A text search function in the preview screen can be used to locate a particular string of text.
- Close Window on Preview – Ticking this checkbox will have the options window automatically close when the Preview button is clicked.
Example
Below is an example report (which may have been cropped and shrunk to conserve space).

Report Options- Worker’s Compensation By Employee Report

- Date Range – Select a predefined date range (i.e. Last Week, This Week, Last Month, This Month).
- From/To – Manually set the date range for the report.
- Worker’s Compensation Code – Choose to view all Codes are select a single code to be displayed.
- Employee – Choose to view all Employees or select a single Employee to be displayed.
- Include Inactive – This option will display all Worker’s Compensation Codes, active and inactive.
- Include all Timesheet Entries – This option will display all timesheet entries for the date range selected whether or not there is a Worker’s Compensation Code assigned.
- Include SSN and DOB – This option will display each Employee’s SSN and DOB on the report
- Cancel – The Cancel button closes the window.
- Preview – The Preview button will show an on-screen display of the report, from which a hard-copy can be printed. The preview screen is also capable exporting the report in a PDF format for email use. A text search function in the preview screen can be used to locate a particular string of text.
- Close Window on Preview – Ticking this checkbox will have the options window automatically close when the Preview button is clicked.
Example
Below is an example report (which may have been cropped and shrunk to conserve space).

