
How to Use Automatic Email
Aptora Mobile II – Auto Email – Usage is a continuation of Aptora Mobile II – Auto Email – Part 1 of 2: Setup. Please refer to this prior to reading.
Reminder Email
Reminders are sent every day of the week at 12:00 PM (noon) server time (the time zone of the server that has AMII installed on it) for work orders scheduled the following day. They are sent once per day. This is an automated process. There is no way to resend the reminders manually.
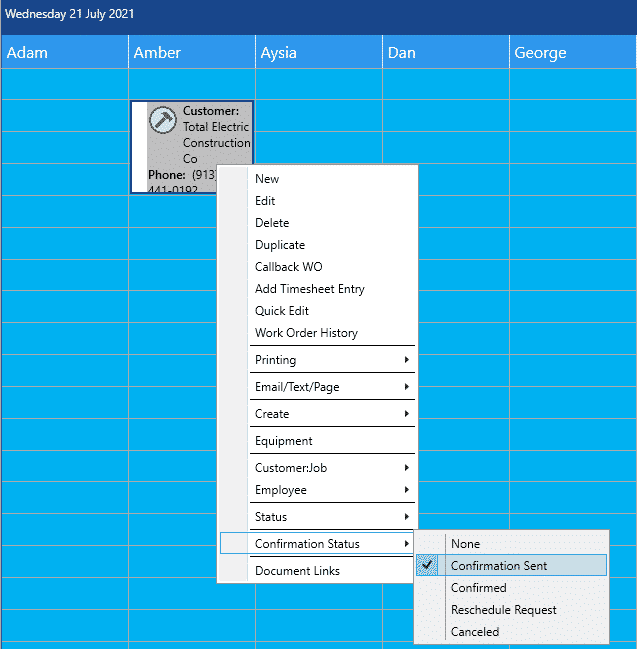
When a email reminder is sent, the work order Confirmation Status is changed to “Confirmation Sent” on the Schedule Board.
Confirmation Email
The technician will first choose their “work orders” then select the work order they’re scheduled to complete next. Once in the work order, the technician clicks the “En Route” button.

The technician will be prompted to begin a working timesheet. The technician will click Yes.

Confirmation that the time sheet has begun. After this notification clears, the screen will transition to the Automated Email Screen.

Click Send to deliver the email to the customer’s email address on file. There is also the option to not send the email. Click ‘Don’t Send’ to move to the work order screen.

Thank You Email
After the technician arrives at the work order location and the En Route email has been delivered, the technician will push the button to being Working timesheet.

The technician will be prompted to begin a working timesheet. The technician will click Yes.

When finished, the technician will click Stop. They will be prompted to complete the work order.
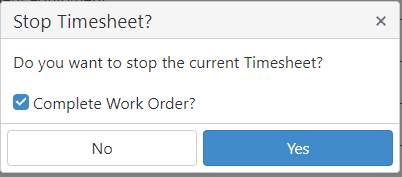
If Yes, click it. The Thank You email screen will appear. Click Send in the upper right corner to email to the customer.

Tips
- If you would like to include images in your email, such as the image of the technician, be sure to go into Total Office Manager and click Lists | Employees.
- Then, choose the employee you want, right click and go into edit, then click Menu | Image to assign an image to your employees.
- For a reminder to be sent, the work order must have a Status of “Scheduled” and a Confirmation Status of “None”.
- For Multi-Day work orders, a reminder based on the Parent work order Start Date. The reminder will use the parent’s email and Auto Contact Method setting.
- Merge fields are used by adding place holders. These are numbers inside of brackets. For example, [21] is Work Order Scheduled Date. There are about thirty different merge fields to select from. When the message is sent, the placeholder will be replaced with actual data. The reminder will be completely customized to the work order and the technician assigned to it.
- The Outbound Email Reminder is used for all AMII users. Each user does not have their own reminder. There is nothing to set up for each mobile user.
- You cannot use auto texting and auto email options at the same time. The system uses whichever is selected on the Automated Contact Method (can be set to Text, Email, or Do Not Contact). This setting is found on the Customer:Job | Address Info tab.
- Limited to One Company File: The system may only be used for one database (Company File). If you have two or more Company Files setup in Aptora Mobile II, the system will use the first Company on the list.
Related Content
https://www.aptora.com/help/mobile-ii/auto-email-setup-and-usage
https://www.aptora.com/help/mobile-ii/aptora-mobile-using-work-orders

