
How to Quickly Inactivate Customers or Jobs
The Bulk Inactivation Utility allows you to inactivate a number of Customer:Jobs at once using the unique ID number assigned to it by Total Office Manager. The ID number can be found in the Customer:Job List. These two forms are separate but can be opened at the same time for quick reference.
Note: You may also highlight multiple Customer:Job on the Customer:Jobs list and inactivate them.
Using the Bulk Inactivation Utility
Use this form to inactivate multiple customers and/or jobs where the Customer:Job unique ID is known. The unique ID may be included when you create marketing lists using the marketing list generator. Use of this form requires the unique ID number. You are not able to use phone numbers, addresses, or any other piece of contact information.
The idea behind this feature was to have an easy way to inactivate large numbers of contacts after a direct mail marketing campaign. Include the unique ID number on postcards and envelopes (you can include it when exporting from the marketing list generator). When mail comes back as undeliverable, try to fix the address or inactivate it. This feature was specifically designed for those of you who do a lot of direct mail to a large mailing list.
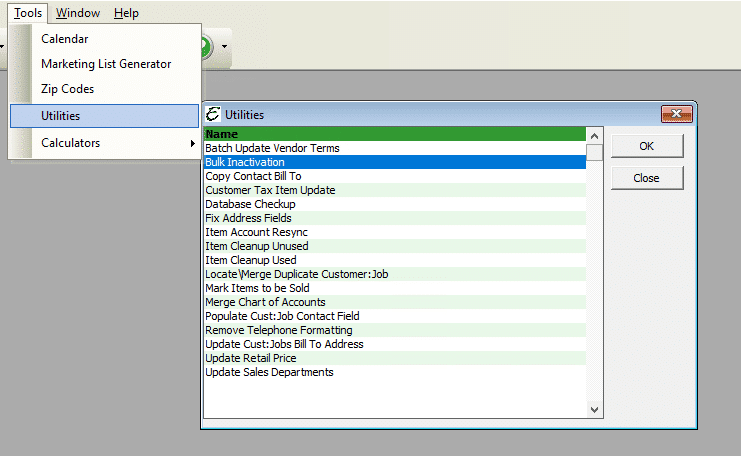
Accessing the Bulk Inactivation Utility
- From the main menu, click Tools | Utilities. Select Bulk Inactivation Utility from the list.
Field Definitions
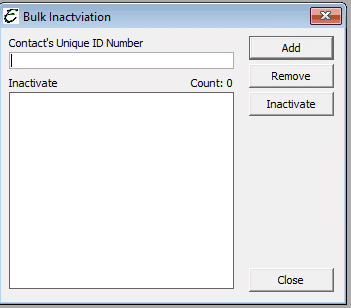
| Contact’s Unique ID Number: | A unique ID number assigned by Total Office Manager to all customers and jobs. This number is used to identify customers and job for marketing purposes. This number can be viewed on the Customer:Job list and marketing list generator. |
| Count: | The quantity of ID numbers you have added to the inactivate list. |
| Inactivate List: | This is the list of all contacts you are inactivating. |
| Add: | Enter a number and click this button to add that number to the list. |
| Remove: | Removes the selected highlighted ID number. Use this to remove items from the list. |
| Inactivate: | Click to inactivate all contacts in the Inactivate List. |
| Close: | Click to close the form. |
Step-By-Step – Bulk Inactivation of Customer:Jobs
- Open the Bulk Inactivate form as instructed above.
- Enter a unique ID number in the box labeled Contact’s Unique ID Number.
- Click the Add button.
- Repeat steps 2 and 3 as needed.
- Click the Inactivate button.
Tips
- Include the unique ID on mailings. You can include the ID on a mailing label, using a very small font. That number could be added to the bottom left of the label. When mail comes back as undeliverable, you can “ten key” enter those IDs to quickly inactivate obsolete addresses.
- You can enter a number and press the Enter key. To save time, you do not have to click the Add button.
- If you need to remove an ID number, select it and click the Remove button.
- You may also open the Customer:Job list, select multiple contacts, and right click to inactivate.
Related Content

