

Introduction
This topic will cover creating and printing client (customer) statements. Use statements if you need to track how much your customers owe you (or accounts receivable, also called A/R). You should also consider using statements if you receive payments in advance, accumulate charges before requesting payment, or you need to show customers a history of their account activity (charges, payments, and balance).
Form Access
-
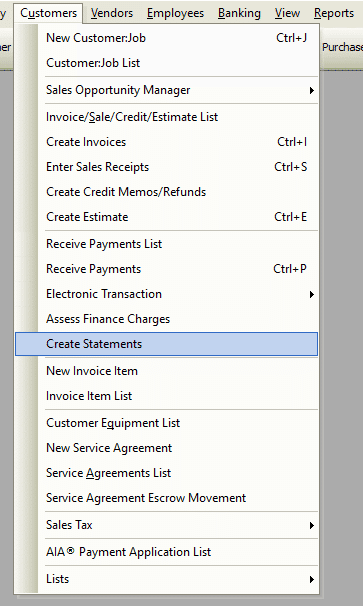
From the main menu, click Customers | Create Statements.
Field & Control Definitions
- Statement Date – The date that will appear on the statement. This is usually the current date.
- Open Transactions as of Statement Date – Clicking the radio button displays customers having open transactions, regardless of when the transaction took place.
- Include Transaction From _____ To _____ – Clicking this radio button enables the function. Define the date range of transactions to include by making selections in the “From” and “To” fields. These dates determine which transactions appear on the list. Transactions that occurred prior to the “From” date will appear as a Balance Forward amount. Any transactions that occur after the “To” date will not appear. Normally, Total Office Manager proposes the “From” date be the day after the date for the last statements prepared, and the “To” date be the current date.
- Set ‘Last Sent’ Date on Print/Preview – When previewing, printing, or emailing a statement, this option will set the current “Statement Date” to the “Last Sent” field. Useful for tracking when clients have last been sent a statement, especially when emailing them.
- Do Not Print Statements with Zero Balance – When this checkbox is ticked, any statement having a zero balance will not be printed.
- Do Not Print Statements with a balance less than _____ – When this checkbox is ticked, statements having a balance less than whatever amount is entered in the associated value field will not be printed. In other words, this function is used to suppress the printing of statement for customers to whom you owe money.
Important Statements Menu Commands
You can access this menu by clicking “Statements” from the List Menu or by right-clicking.
- Statements | Select All – Selects (checks) all of the clients (customers) in the list.
- Statements | Clear All – De-selects (un-checks) all of the clients (customers) in the list.
- Select Top Level Customers – Ticks the checkboxes of all top-level customers (sometimes called “parent” accounts).
- Select All Sub Customers – Ticks the checkboxes of all sub customers (sometimes called “child” accounts).
Important Reports Menu Commands
You can access these options by clicking “Reports | Print Setup” from the List Menu.
- To use Billing or Work address?
- To include Invoice Items?
- To Show Phone Number (of the customer)?
- To Show Fax Number (of the customer)?
- To Show Contact Name (see separate section, “Contact Name/Company Name Printing Guidelines” below).
- To Use Company Name (see separate section, “Contact Name/Company Name Printing Guidelines” below).
- To Exclude Paid Invoices from the statement?
- To Show Contact Name (of the customer account)
- To choose a statement style.
- To choose a custom footer.
- To setup for printing on plain paper (how the company name appears and whether or not to print the company address.
- To setup for printing on company letterhead (adjust margins so the Total Office Manager doesn’t print over the pre-printed portion of your letterhead).
- Reports | Preview – Used to view the statements without necessarily printing them.
- Reports | Print – Used to print hard copies of your statements.
- Reports | Email – Will email the statement to a single customer. Tick the checkbox of the target customer, then click Print | Email. The statement will automatically be converted to PDF format and attached to an email from your default email editor, ready to be sent. Hint: Enable the “Set ‘Last Sent’ Date on Print/Preview” option function to help keep track of emailed recipients.
- Reports | Envelopes – Used to print statement envelopes. See the “Related Topics” section below for more information.
Contact Name/Company Name Printing Guidelines
The statement printing checkboxes “Show Contact Name” and “Use Company Name” work in conjunction with each other, using the following guidelines.
- If neither checkbox is ticked, then Customer Name will appear on the statement.
- If only Contact Name is ticked, then Contact Name will appear on the statement.
- If only Company Name is ticked, then Company Name will appear on the statement.
- If both checkboxes are ticked, both will appear on the statement. The Company Name will appear on the first line and the Contact Name will appear on the second line.
Step-By-Step
- Open the Create Statements form as directed above.
- Enter the Statement Date to appear on your statements.
- Select either “Open Transactions as of Statement Date” or “Include Transactions From and To” date range.
- Tick the “Set ‘Last Sent’ Date on Print/Preview” checkbox if desired.
- Use the Filter Center and/or Quick Filter to further refine your list if necessary.
- Set/verify print options, then preview, email, or print.
