

Introduction
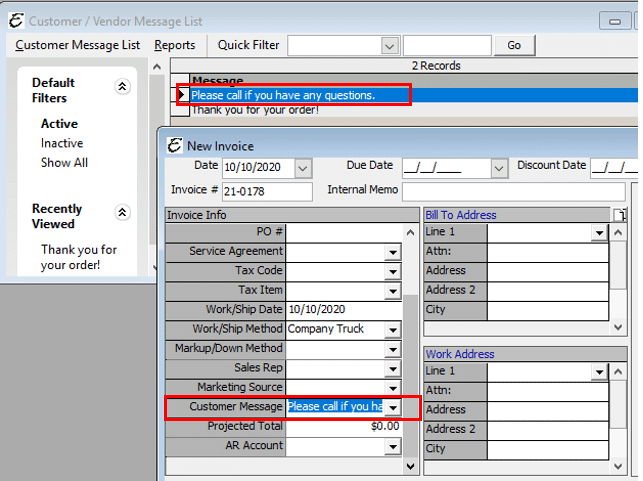
The Customer/Vendor Message List is used to setup and manage customer/vendor messages. These custom messages then appear within the “Customer Message” field of sales forms and are meant for your customers to read. The list of all customer created messages are stored within the list and are available for usage.
Form Access
-
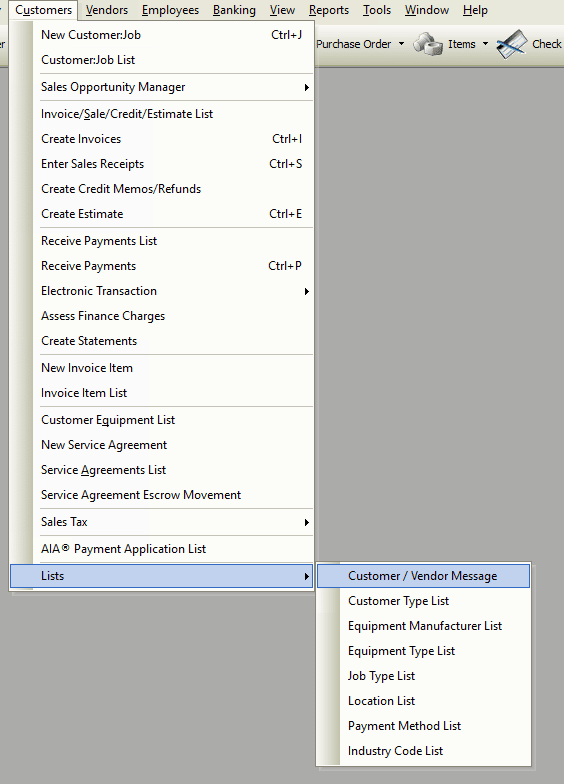
From the main menu, click Customers | Lists | Customer Message.
Setup
Perhaps the easiest way of using the commands available in this list is through its right click menu. The right click menu is identical to the title menu.
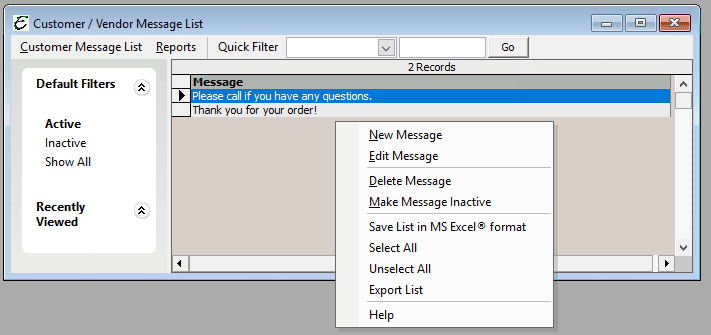
- To create a new customer/vendor message, right click anywhere in the list and choose New Message from the pop-up menu.
- To edit a customer/vendor message, right-click on it and choose Edit Message from the pop-up menu.
- To delete a customer/vendor message, right-click on it and choose Delete Message from the pop-up menu. Note: It may not always be possible to perform this action — inactivation may be more appropriate.
- To inactivate a customer/vendor message, right-click on it and choose Make Message Inactive from the pop-up menu. This can also be done by ticking the “Inactive” checkbox within a record itself.
- To export whatever information is currently displayed in the list, right-click anywhere in the list and choose Export List or Save List in MS Excel (Hosted Clients) format from the pop-up menu.
Field & Button Definitions
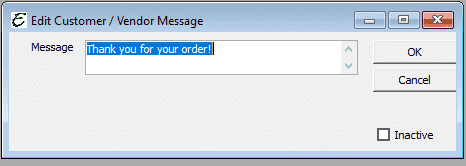
- Message – Enter a message for the customer to read. This message will appear on most of the sales related forms in Total Office Manager.
- Inactive – Tick this box to cause the message to not show on any selection list, but will still exist for future use.
- OK – Saves your changes and closes the form.
- Cancel – Closes the form without saving changes.
Creating a New Customer Message
- Right click anywhere in the list and choose New Message from the pop-up menu, or select the same command from the title menu. The “Add Customer Message” form will appear.
- Enter the new customer message in the “Message” field.
- Click OK to save and close the form, Cancel to exit the form without saving, or Next to save the customer message and go on to create another.
Company Preference
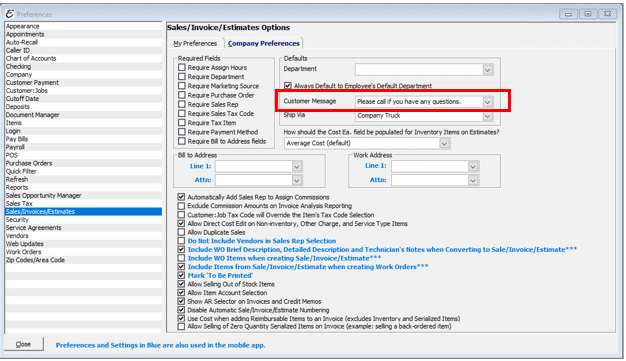
After a new message has been composed, there is a Company Preference that allows for the message to be directly added to a sales form without selecting it each time. From Edit | Preferences, Select Sales/Invoices/Estimates. Find the Customer Message field and select from the messages you created above to utilize.
Example
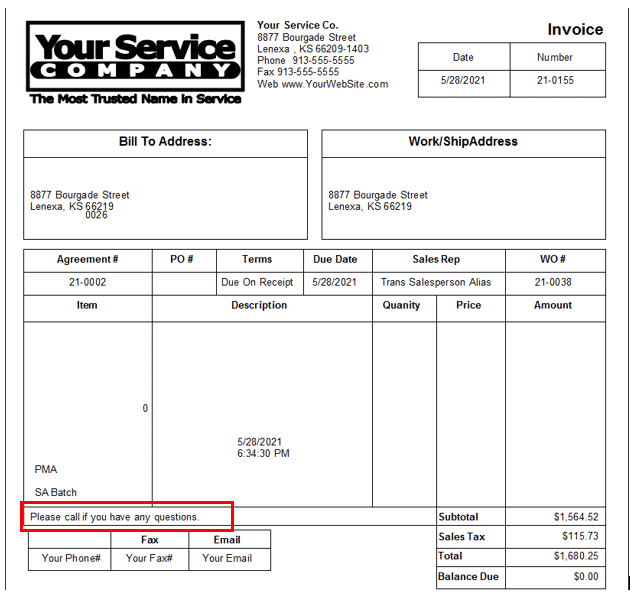
When a sales form has been provided to a customer, it will appear for them to read.
Below is an example Invoice (which may have been cropped and shrunk to conserve space).
Tips
- A one-time, personalized, original message can be entered directly into the Customer Message field on a sales form without having to first create a “canned” customer message as described above.
- Enter the personalized message in the Cust Message field of a sales form. The message will be saved in that form only, and appear nowhere else.
- A Customer/Vendor Message is not the same as a Custom Footer. Please don’t confuse the two. See the related topic, “Custom Footers List” for more info.
