
How to Assign/Track Tools and Assets with the Asset Manager
The Asset Manager is used to manage the various assets owned by the company. Often, assets can represent a significant portion of a company’s net worth. Use the Asset Manager to record these assets, assign an asset to an employee, transfer an asset from one employee to another, and more. You may also wish to track hand tools, power tools, and other items assigned to technicians. The Asset Manager was built for that too.
Be sure to read the help topic How to Add, Edit, and Manage Your Company’s Fixed Assets and Tools
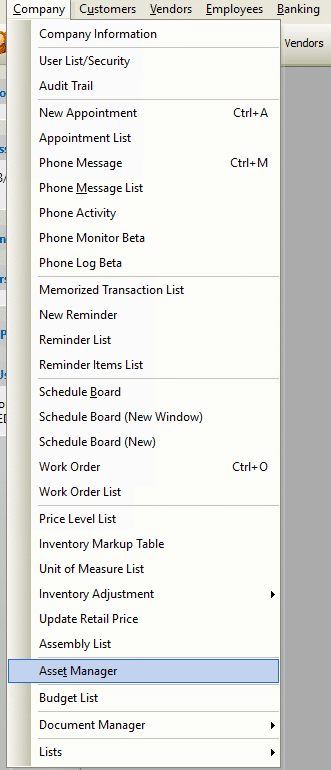
Accessing the Asset Manager Form
- From the main menu, click Company | Asset Manager.
Usage
Perhaps the easiest way of using the commands available in this list is through its right click menu. The right click menu is identical to the title menu.
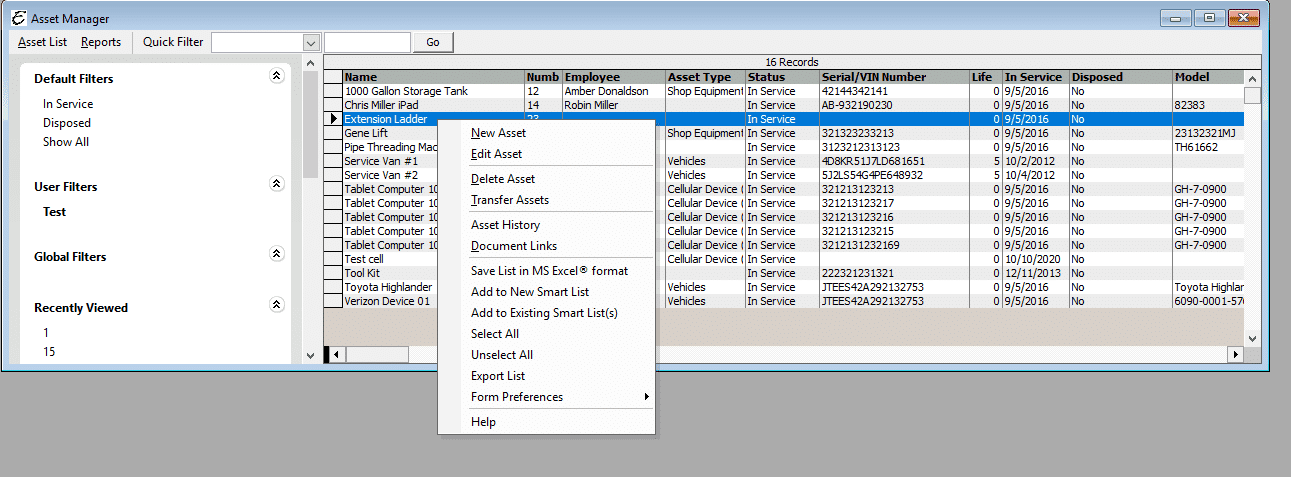
- To create a new asset, right click anywhere in the list and choose New Asset from the pop-up menu. Complete the Add Asset form as directed in the related topic, “Asset – Adding Assets”.
- To edit an asset, right-click on it and choose Edit Asset from the pop-up menu.
- To delete an asset, right-click on it and choose Delete Asset from the pop-up menu.
- To transfer an asset, right-click on it and choose Transfer Asset from the pop-up menu.
- To access the Document Links for an asset, right-click on an asset and choose Document Links from the pop-up menu.
- To export whatever information is currently displayed in the list, right-click anywhere in the list and choose Export List from the pop-up menu.
- To modify which columns are displayed in the list, right-click anywhere in the list and choose Form Preferences | Show Columns from the pop-up menu.
Tips
- The use of Document Links can be invaluable when managing assets. Manufacturers usually provide electronic versions of their user manuals online for downloading. Download these manuals and other asset-related documents (like a scan of the sales receipt from when it was purchased) to a central location, then use that asset’s Documents Links to manage the information.
- You can delete or transfer multiple records. To highlight multiple records, press and hold your CTRL key and click each record. You may also select a range of records by highlighting the first record in that range, press and hold your left Shift Key, and click the last record in that range.
- Sticky labels can easily be printed for your assets. See the related topic, “Asset Labels Report” for more info.
- It is generally recommended not to delete assets. Consider using the Dispose option instead.
Content Related to the Asset Manager List
https://www.aptora.com/help/reports-contact-log-assets/

