
Manage Sales Opportunities and Sales Leads
The Sales Opportunity Manager (SOM) is an integrated part of Total Office Manager and its overall Customer Relationship Management (CRM) system. SOM allows you to enter and track sales leads. You can set up product lists, sales closure probability lists, qualifications lists, and Sales process stages.
CRM Form Access
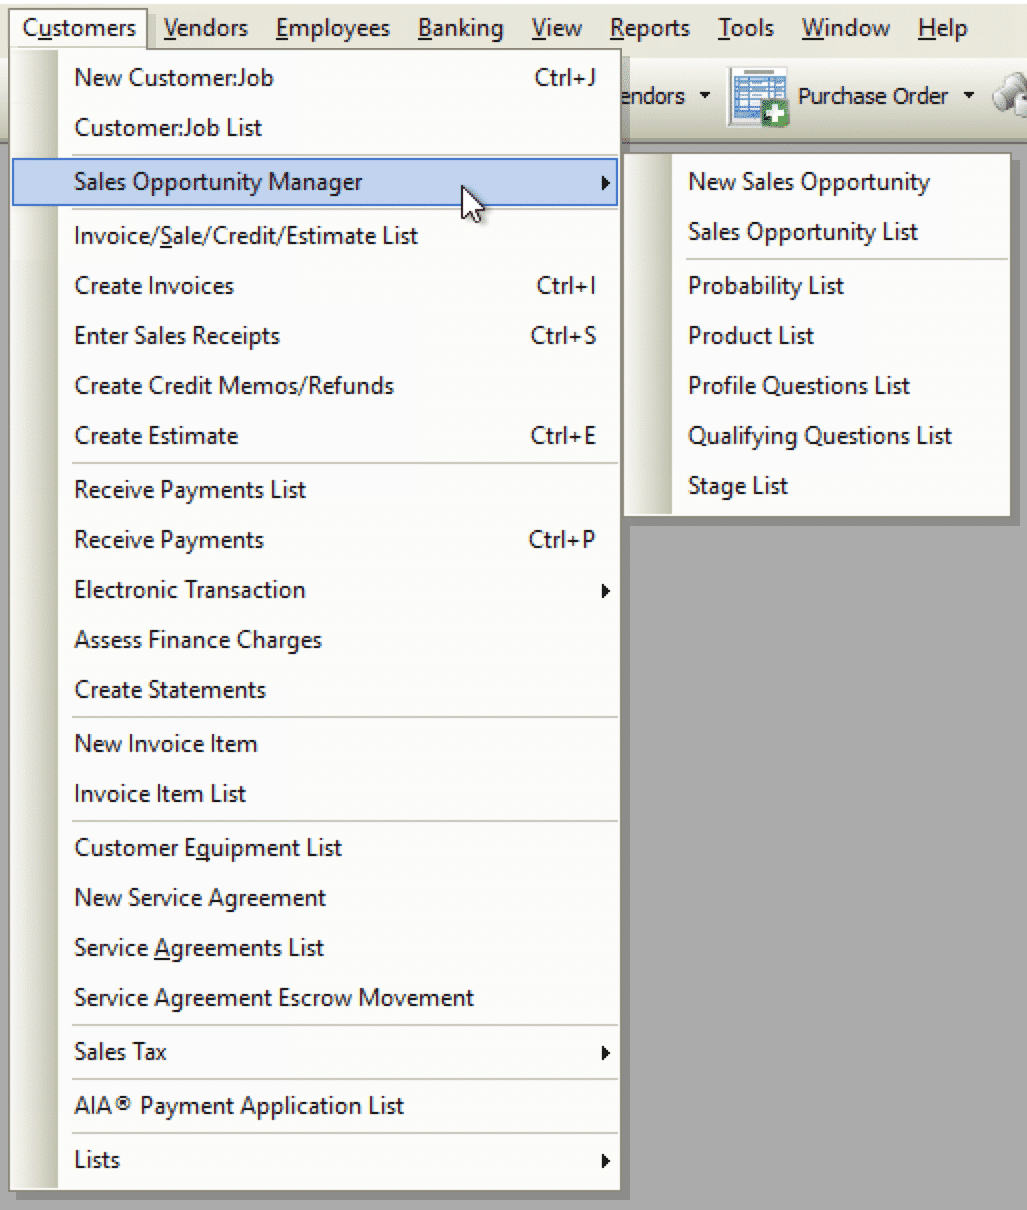
- From the main menu, click Customers | Sales Opportunity Manager
Field and Button Definitions
To create a new Sales Opportunity, select Sales Opportunity Manager from the Customers main Menu option and then select New Sales Opportunity.
Info Tab
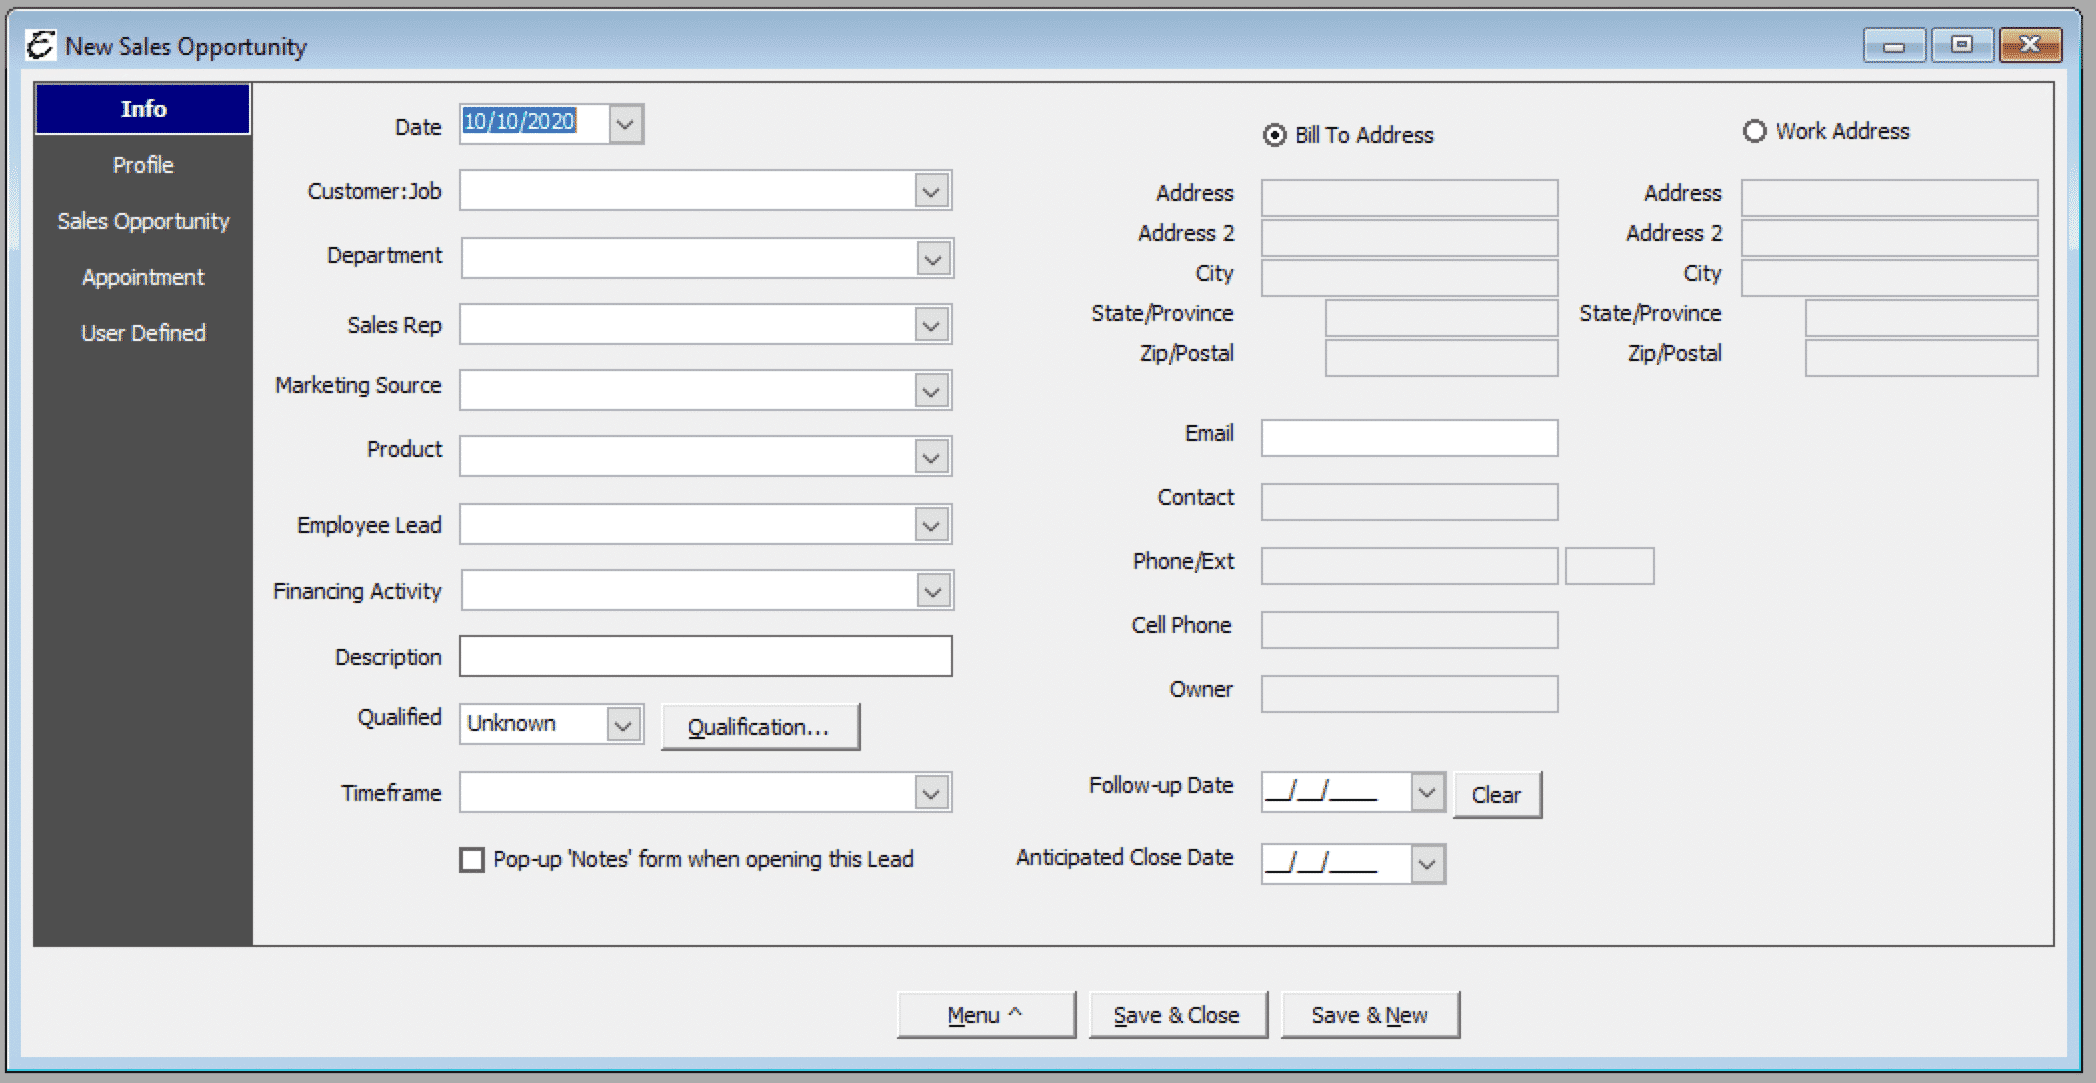
- Info Tab Date – Select the date Customer:Job: Select the Customer:Job for whom the Sales Opportunity is being created.
- Customer:Job – Select the Customer:Job associated with this lead.
- Bill to Address or Work Address – Select the button for either Bill To Address or Work Address associated with this lead.
- Department – Select the Department associated with this lead.
- Sales Rep – Select the Sales Rep working with this lead.
- Marketing Source – Select the Marketing Source that generated the Sales Opportunity. This might be Google or Billboard.
- Marketing Campaign/List – This is used as a campaign, group, audience, email list, or direct mail list. Example: “Furnace Tune-up Prospects” or “Service Agreement Sale”. These can be used to help organize an email or mailing list. The complete list can be found in the Marketing Type list.
- Employee Lead – Select an employee who may have been associated with this sales opportunity.
- Product – Select or create the product that has the potential to be sold. This is a required field. Description: A brief description of the product.
- Financing Activity – Select from:
- Financing Offered and Bank Approved
- Financing Offered. Bank Declined. Paid Cash
- Financing Offered. Bank Declined. Sale Lost
- Client Declined Financing (Paid Cash)
- No Financing Was Offered
- Description – Enter a short summary of the sales lead.
- Qualified – Yes or No, determined by the list of questions you’ve created to determine whether or not a Sales lead is legitimate.
- Timeframe – Choose a predefined timeframe (1-2 Weeks, 3-4 Weeks, 1-3 Months etc.)
- Pop up “Notes” form when opening this Lead – Opens the Notes for the Customer:Job selected.
- Follow-up Date – Select a date to follow up with the Customer:Job.
- Anticipated Close Date – Select a date where the Sales Rep thinks the sale will be final.
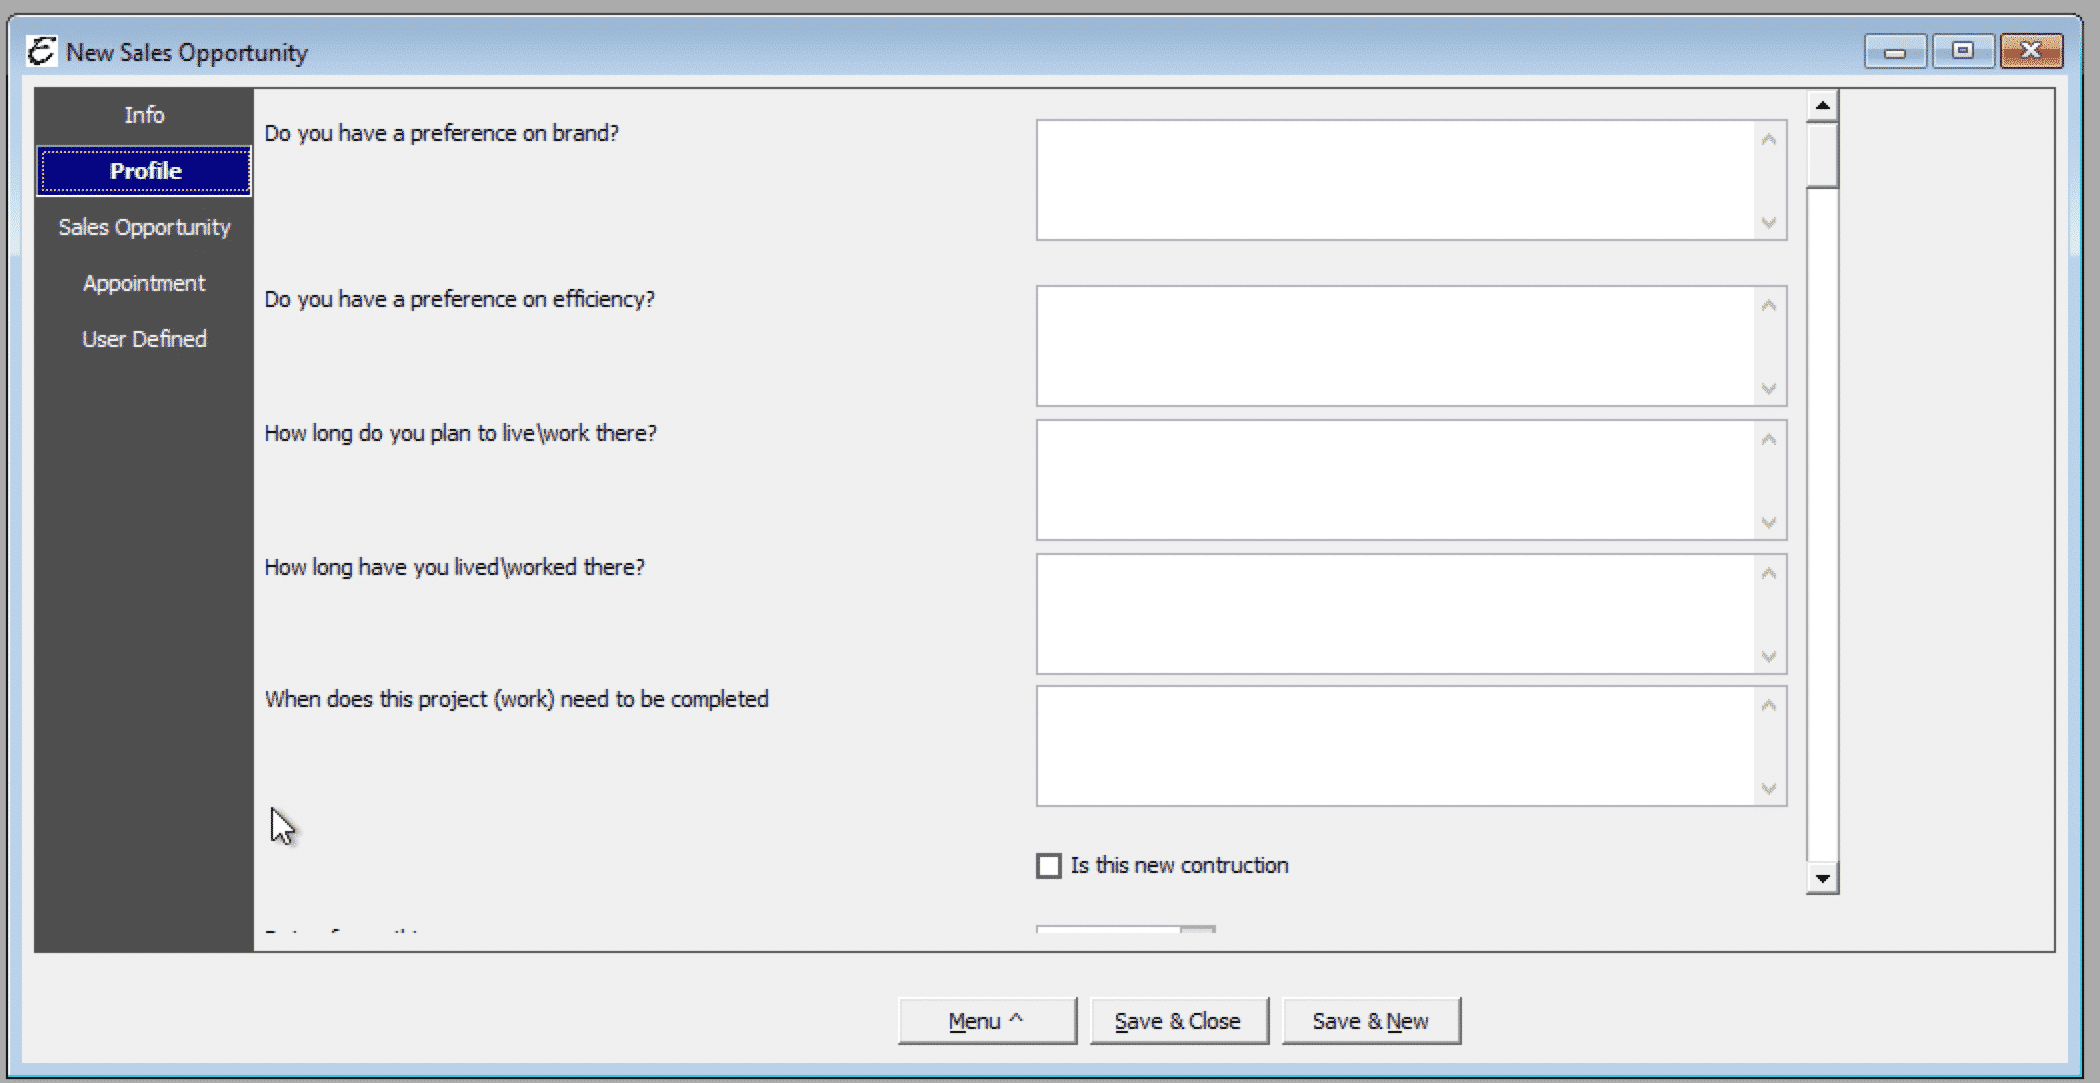
Profile Tab
The Profile Tab provides more detail about the Lead that can be used to measure the wants and needs of the potential sale. Each question on the Profile Tab will be questions you’ve created. These questions will most likely be unique to you and your business.
Sales Opportunity Tab
This is a list of the buttons and menu options under the Sales Opportunity tab. Each control is explained.

- Product – Auto populated from the Info Tab.
- Priority – Set a priority for this lead (Low, Medium, High).
- Probability – A customizable field that states the name and percentage you have to win the sales opportunity.
- Stage – At what stage in the Sales Process are you? (These stages will be defined by you).
- Status – What is the status of this Sales lead? (On hold, In Progress, Awarded, Not Awarded (rejected).
- Estimate – If an Estimate has been created within Total Office Manager it will appear in this dropdown list. You may also create a new estimate by clicking the Add New option at the top of the dropdown list.
- Amount –Amount of the selected Estimate.
- Resolved – When was the sale won or lost? Enter a date in the date field for recording purposes.
- Reason Won/Lost: Enter a brief description of what won or lost the sale.
- Explain Reason – A more in-depth description of the reason behind why the sale was won or lost.
Appointment Tab
The Appointment Tab will display any Appointments that have been created. By clicking the Appointments menu button, you can select from the available options to add/edit/delete appointments accordingly.
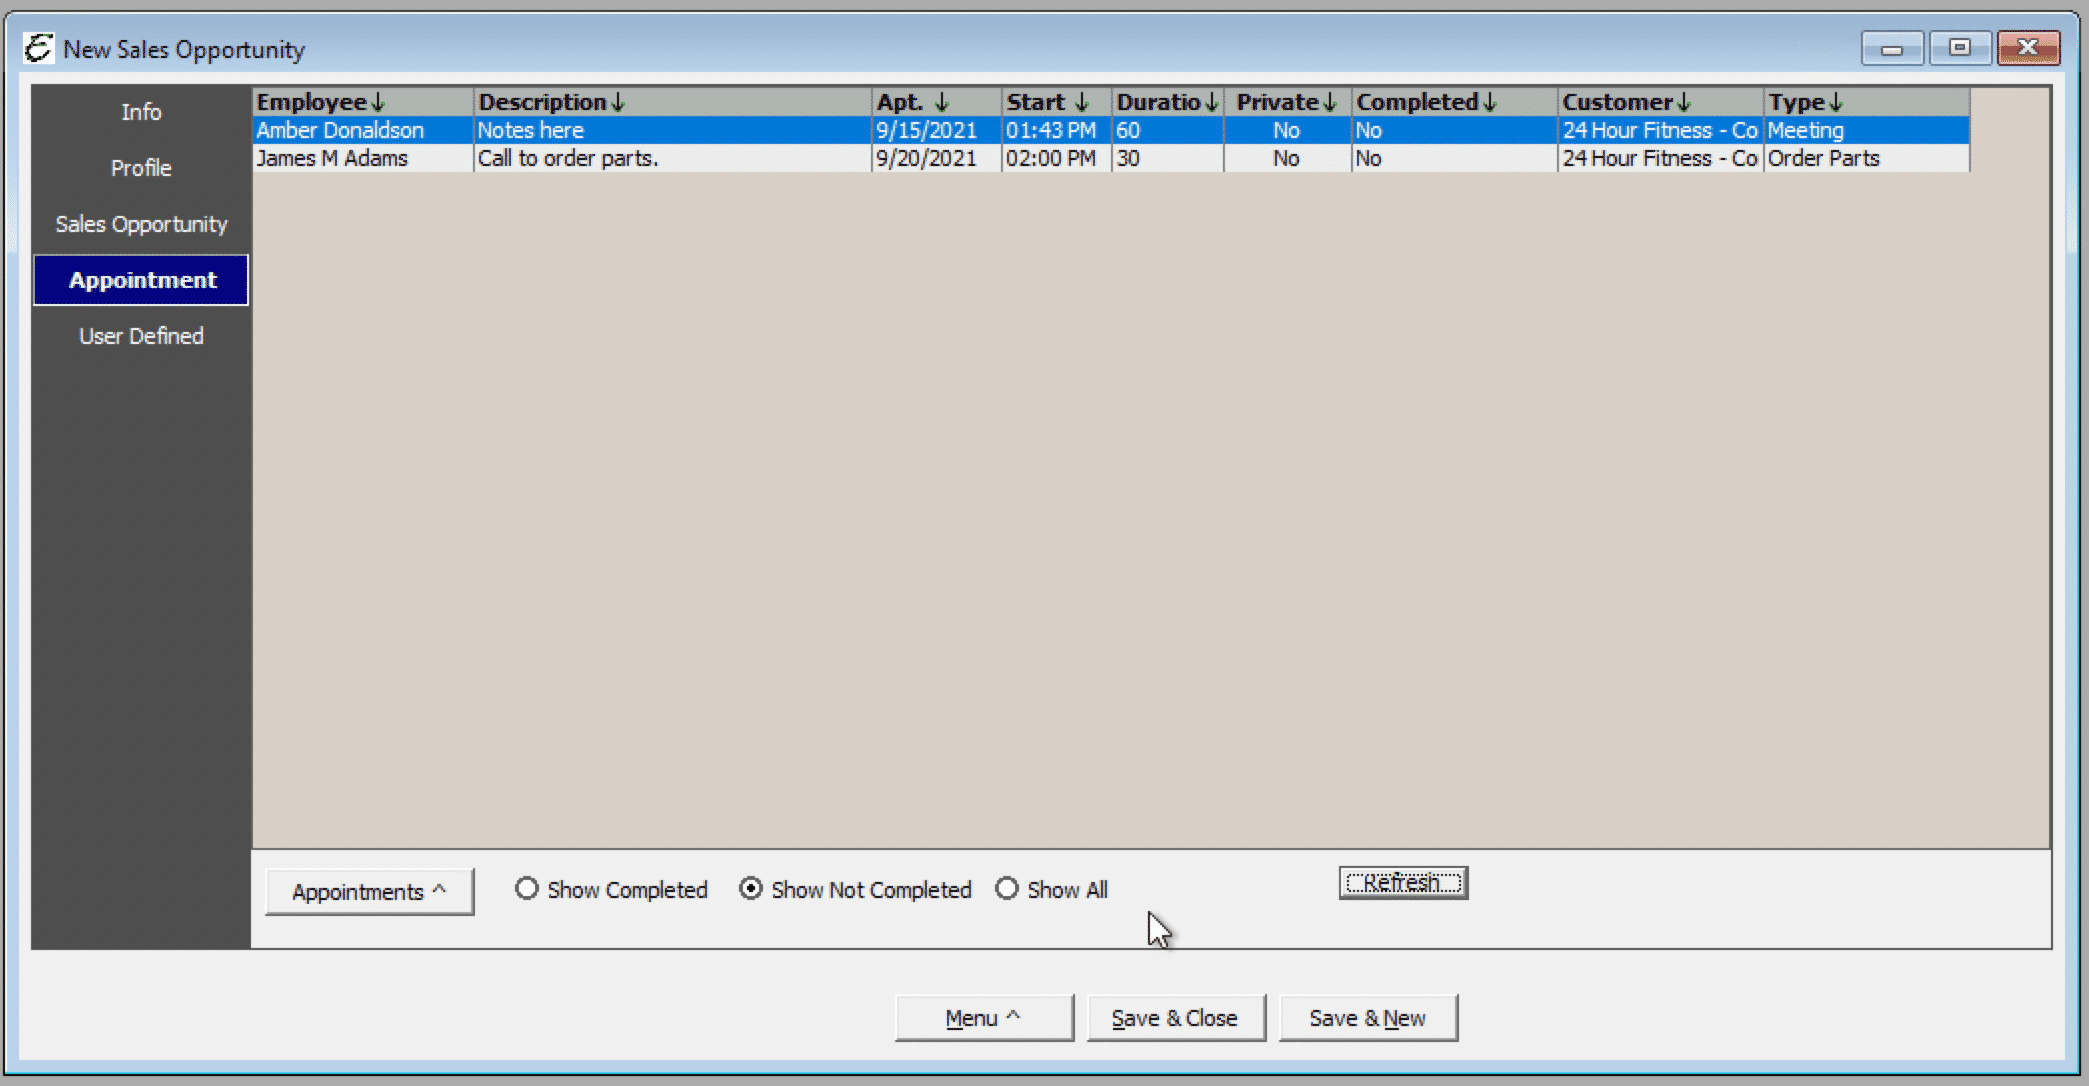
- New Appointment – Create a new Appointment.
- Edit Appointment – Opens the selected Appointment if any changes need to be made.
- Delete Appointment – Deletes the selected Appointment(s).
- Complete Appointment – Marks the selected Appointment(s) as complete.
- Find Appointment – Opens the Schedule Board to locate the Scheduled Appointment.
- Memorize – Allows you to create multiple Appointments for multiple users given the same parameters of the selected Appointments.
- Repeat Appointment – Allow you to have this appointment repeat on a specific date or future reoccurring dates. The User Defined Tab will list any User Defined Fields that you have set up and assigned to the Sales Opportunity Lead form.
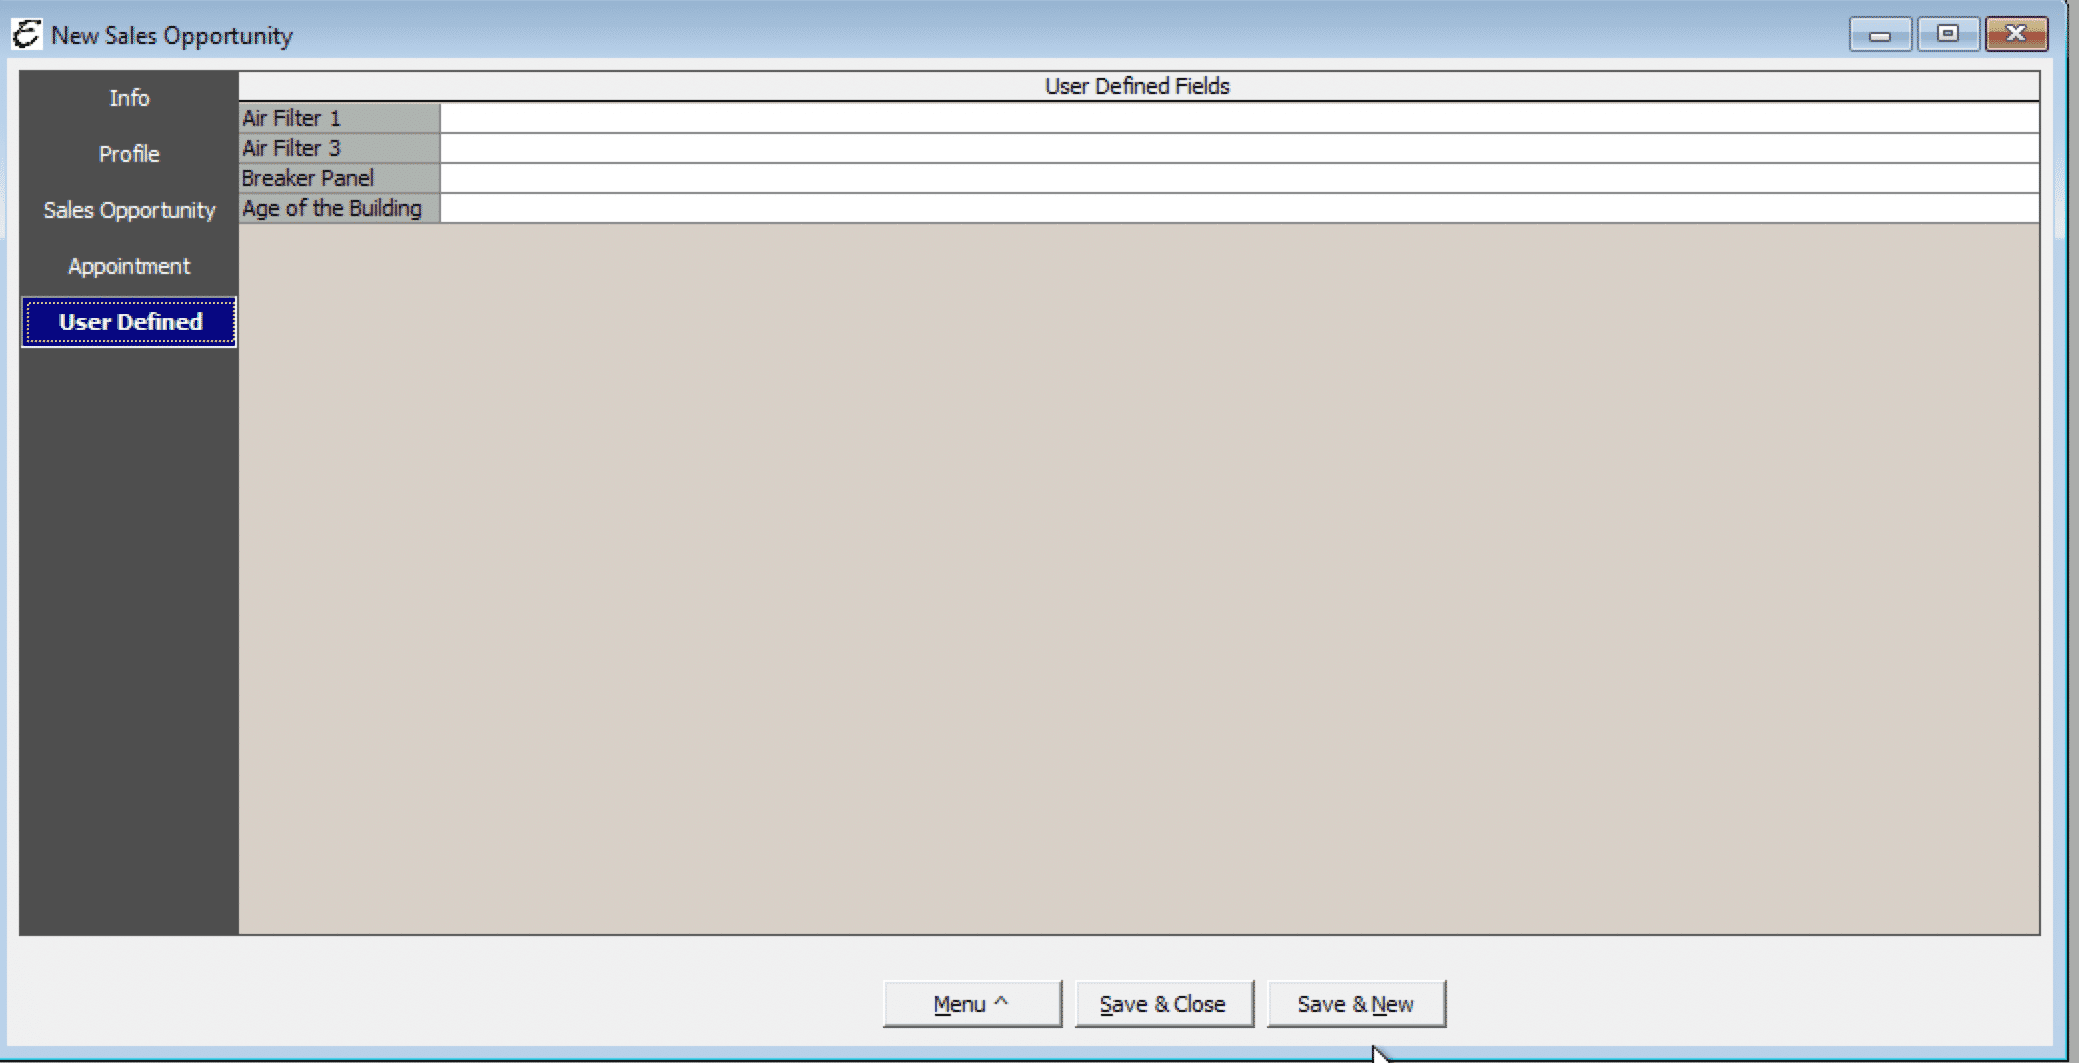
User Defined Fields Tab
The User Defined Tab will list any User Defined Fields that you have set up and assigned to the Sales Opportunity Lead form.
Tips
- We use the term “Customer:Job” to mean customers, jobs, prospects (have not spent money with the company). The Customer:Job list is where you can see all of these contact types.
- The Sales Opportunity List contains a lot of features. Use the Batch Updater to change department, status, probability qualified, follow-up date, and more. You will find this feature under the Actions menu.
- The Sales Opportunity List includes a column called Date of Last Sales Contact. This field shows the most recent date that a sales related entry was made in the Customer:Job’s > Contact Log. The Contact Log Topic used for that entry must be sales related. On the Contact Log Topic form, select from the “What Best Describes This Contact Log Entry”. Select any option that includes the work “Sales”.
- The Sales Opportunity List includes the ability to add a Contact Log entry to two or more contacts. You will find this feature under the Actions menu.
- On the bottom of the main form, you may notice “Reminders”. This lets you know there are new sales opportunities that do not have a Status. Once the status is set, they will no longer be in that Reminders count. The idea is to allow anyone to enter leads and notify the main person who may assign them.
FAQ
Question:
Why can’t I change the Product once the Sales Opportunity has been saved in Total Office Manager?
Answer: In Totals Office Manager (not the app), you must select a Product to Save. This field is required because the program creates tables and other things inside the database. Those are “set” in the database. The Product you select determines the Profile Questions and the Qualification Questions. If the Product were changed later, we found it extremely difficult to programmatically resolve all of the differences to the structure of that sales opportunity. So, we decided to disallow changing it. The app does not require a Product to be selected, since the technician may not know what product is ultimately proposed. Note: We did add a Create Copy to the Sales Opportunity menu to make it fast and easy to make a copy and change the Product.
Question: What is the Sales Opportunity Manager (SOM) in Total Office Manager and how does it integrate with the overall Customer Relationship Management (CRM) system?
Answer: The Sales Opportunity Manager (SOM) is an integrated part of Total Office Manager and its overall Customer Relationship Management (CRM) system. It allows users to enter and track sales leads, which are referred to as Sales Opportunities. It is a tool for managing and tracking potential sales, providing a systematic approach to sales management.
Question: How do you create a new Sales Opportunity in Total Office Manager?
Answer: To create a new Sales Opportunity, you select Sales Opportunity Manager from the Customers main Menu option, then select New Sales Opportunity. You can then enter various details about the sales lead in the Info Tab and Profile Tab.
Question: What kind of information can be entered in the Info Tab when creating a new Sales Opportunity?
Answer: In the Info Tab, you can select the date, the Customer:Job for whom the Sales Opportunity is being created, the Sales Rep working with this lead, the Marketing Source that generated the Sales Opportunity, and the product that has the potential to be sold.
Question: What is the purpose of the Profile Tab in the Sales Opportunity Manager?
Answer: The Profile Tab provides more detail about the Lead that can be used to measure the wants and needs of the potential sale. The questions on the Profile Tab are unique to you and your business, allowing for a tailored approach to each sales opportunity.
Question: What is the Probability List in the Sales Opportunity Manager and how is it used?
Answer: The Probability List attempts to rate the probability of a sale, based upon the completion of certain phases or milestones. For example, you might say that you have a 40% chance of making a sale if you give a Sales presentation to a qualified prospect.
Question: What is the purpose of the Product List in the Sales Opportunity Manager?
Answer: The Product List is used to create a basic list of products or services you might be offering to sell. This is not to be confused with your item or inventory lists. This is a basic list used for tracking Sales closures rates.
Question: What are Profile Questions and how are they used in the Sales Opportunity Manager?
Answer: Profile Questions are a list of questions that you could use to profile your prospect. These questions might include demographical or basic “fact finding” questions and answers. Each Profile Question will need to be assigned to the product that has led to the Sales opportunity.
Question: What are Qualifying Questions and why are they important in the Sales Opportunity Manager?
Answer: Qualifying Questions are used to determine whether or not the prospect is qualified to be considered a legitimate Sales lead. Each Qualifying Question will need to be assigned to the product that has led to the Sales opportunity. They are important as they help to filter out unqualified leads, saving time and resources.
Question: What is the Stages List in the Sales Opportunity Manager and how does it aid in the sales process?
Answer: The Stages List allows you to set up a list of milestones so you can systematically proceed through a series of procedures, increasing your chances of success. It helps to track the progress of a sale and identify what steps need to be taken next.
Question: How does the Sales Opportunity Manager contribute to effective Customer Relationship Management?
Answer: The Sales Opportunity Manager contributes to effective Customer Relationship Management by providing a systematic approach to managing and tracking potential sales. It allows for detailed profiling of leads, assessment of sales probabilities, and tracking of sales stages, all of which contribute to a more tailored and effective sales approach.
Related Content
Video: Sales Opportunity Manager Reminders on Status BarVideo: Creating a Sales Opportunity in Aptora Mobile II
https://www.aptora.com/help/schedule-new-appointments/

