
Introduction
The Vendor Form – Contacts Tab is used to record additional contacts for the Vendor. These records store electronic contact information only, not postal information. A virtually unlimited number of additional contact records can be stored in the Contacts tab. The Caller ID feature scans these entries just as other contacts in the program.
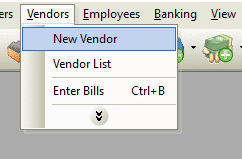
Form Access
-
From the main menu, click Vendors | New Vendor, or
-
From the toolbar, click the Add New Vendor button.

Field Definitions
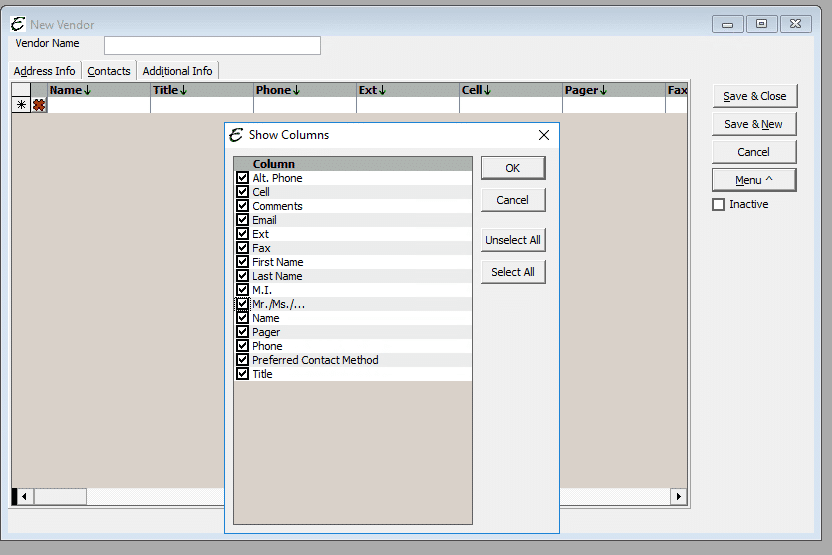
- Alt. Phone – Enter an additional phone number for the contact if known.
- Cell – Enter the contact cell phone number if applicable.
- Comments – Enter any brief notes about the contact here.
- Email – Enter customer’s e-mail address if applicable.
- Extension – Enter the contact phone extension if applicable.
- Fax – Enter the contact fax number if applicable.
- First Name – You can use the first name field as opposed to combining it into the Name field. For marketing purposes, we recommend that you do not use UPPERCASE for name fields. Properly cased letters will look better in a mail merge.
- Last Name – You can use the last name field as opposed to combining it into the Name field.
- M.I. – Enter the middle initial of the individual (if known).
- Mr./Ms./… – Enter the corresponding title of the individual.
- Name – Enter the first and last name of the contact.
- Pager – Enter the contact pager number if applicable.
- Phone – Enter the contact phone number.
- Preferred Contact Method – Select from Phone, Fax, Email, Text, Do Not Contact as the primary way to get ahold of this contact.
- Purchasing Role – This is the role of the person during the purchasing (or sales) process. This list cannot be edited.
- Title – Select the title of the contact. For instance, you may also use this for son, daughter, husband, wife, partner, etc. These are customizable.
Note:
The columns that selected can be moved within the window to fit your preference. Select the column in question and drag it to the position desired.
Vendor Form – Contacts Tab – Usage
Enter relevant information regarding who the contact individual(s) are for the Vendor. Remove individuals by clicking the red X next to the row of information. As you enter information into one row, a new row will appear to add additional contacts. Complete as many that are needed and then select Menu | Save.
Related Content
https://www.aptora.com/help/vendor-form-address-info-tab/

