
Introduction
The Vendor List is used to set up and manage vendors. It is your central information center for your Vendors. Total Office Manager provides you with a thorough form to use for entering all the pertinent information you will need for each of your vendors.
For a full explanation of the vendor form, click here.
Form Access
-
From the main menu, click Vendors | Vendor List.

-
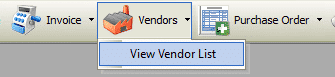
From the toolbar, click the drop-down arrow just right of the Add New Vendor button, then click View Vendor List.
Usage of Vendor List
Right-Click Menu
Perhaps the easiest way of using the commands available in this list is through its right click menu.
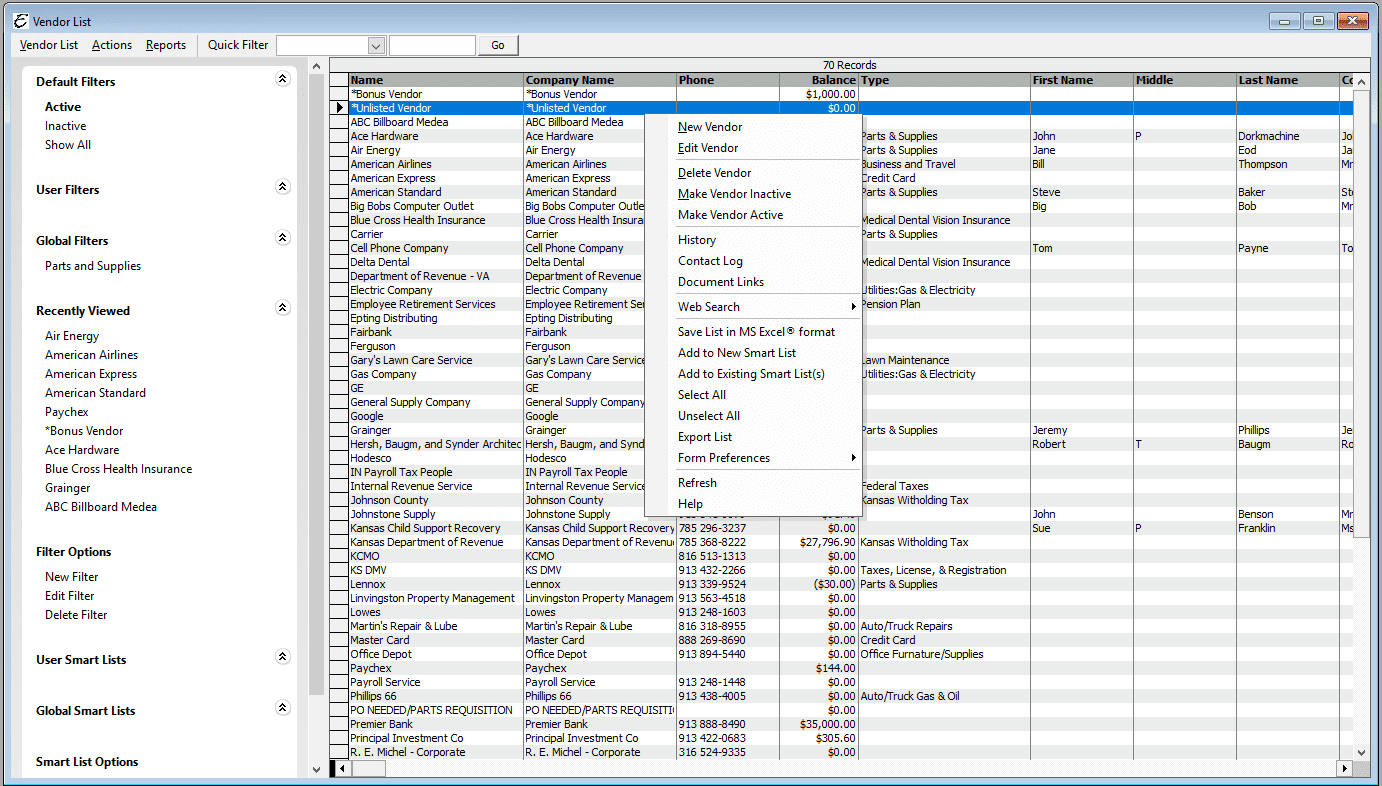
- To create new vendor, right click anywhere in the list and choose New Vendor from the pop-up menu.
- To edit a vendor, right click on it and choose Edit Vendor from the pop-up menu.
- To delete vendor, right-click on it and choose Delete Vendor from the pop-up menu.
- To inactivate a customer, right-click on it and choose Make Vendor Inactive from the pop-up menu.
- To open the contact log for a vendor, right-click on it and choose Contact Log from the pop-up menu.
- To modify which columns are displayed in the list, right-click anywhere in the list and choose Form Preferences | Show Columns from the pop-up menu.
- To set which field the “find as you type” feature has focus, right-click anywhere in the list and choose Form Preferences | Find As You Type from the pop-up menu.
- To export whatever information is currently displayed in the list, right-click anywhere in the list and choose Export List from the pop-up menu.
Actions Menu
To use the Vendor List Actions Menu, first highlight a particular vendor then choose from the following commands:
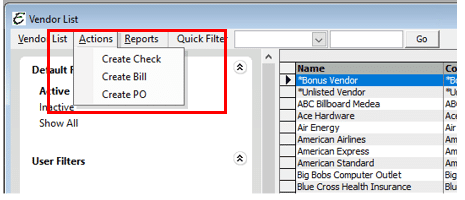
- Create Check – Opens the Write Checks form with highlighted vendor information already proposed.
- Create Bill – Opens the Enter Bill form with highlighted vendor information already proposed.
- Create PO – Opens the New PO form with highlighted vendor information already proposed.
Field and Button Definitions
Please click here for a details explanation of each button and field on this form.
Tips
-
You can inactivate multiple vendors within the Vendor List. To highlight multiple vendors, press and hold your Ctrl key and click each vendor. You may also select a range of vendor by highlighting the first vendor in that range, pressing and holding your left Shift key, and clicking the last vendor in that range.
-
You can select a vendor record and right click for common tasks.
-
We generally recommend that you avoid deleting vendor records. You should use the Inactivate option instead.
-
The vendor’s phone number will be associated with the Phone Monitor System (Company | Phone Monitor). You have the ability to instantly go to their file. A Log is available, click on the Log tab and you will see, at a glance, the history of the vendor. Record all the correspondence you have with this vendor. Example: Request for credit, last price increase, free delivery, etc.
Note (Optional Software): If you have Phone Monitor installed and turned on, when a call comes in, information about the call will display on your screen. Click on the View button (far left hand side of form) this will pull up the customer’s, vendor’s, or employee’s file (if they are in your database) of the incoming call. Click on the Log tab and log in the conversation as it is taking place.
Related Content
https://www.aptora.com/help/vendor-form-additional-info-tab/
https://www.aptora.com/help/reports-contact-log-vendor/

