
Using the Customer:Job Additional Info Tab
The Customer:Job Form – Additional Info Tab is used to store a variety of miscellaneous customer information on the overall Customer:job record. This is also where the control of pop-up notes for the customer is located.
How to Get to the Additional Info Tab
- From the main menu, click Customers | New Customer:Job, or
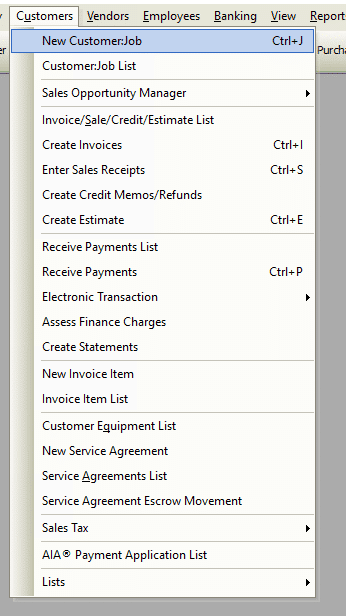
- From the toolbar, click the New Customer:Job button.

Customer:Job Form – Additional Info Tab – Field & Button Definitions
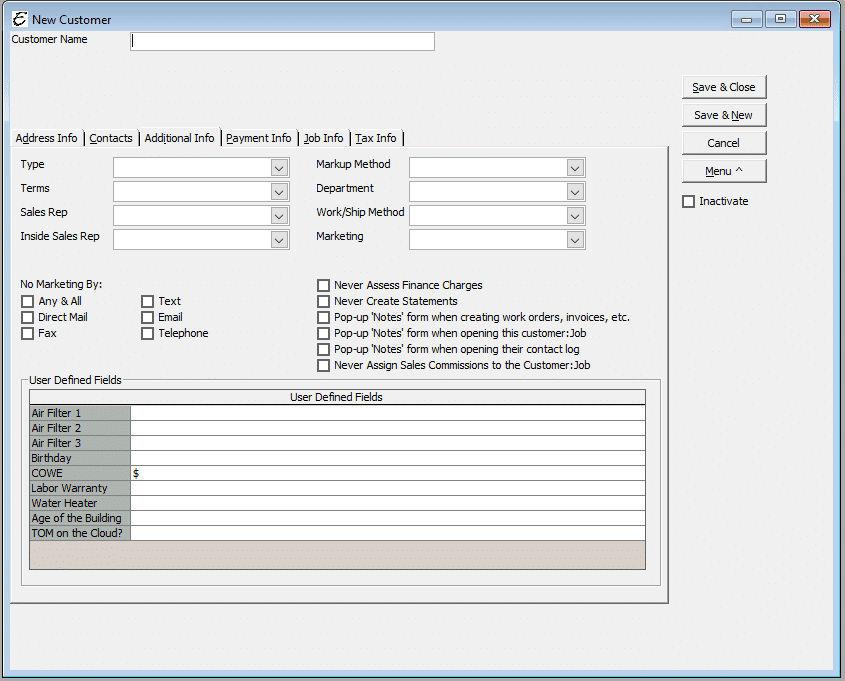
- Type – Select from the drop down menu the type of customer you are setting up, residential, commercial, government, etc., your classification for the customer.
- Terms – Select from the drop-down menu the terms you are offering the customer on their invoices, 2% 10 Net 30 Days, Net 15 Days etc. You may also create a new Term, if the Term you need is not in the list. Click on the hand icon to the right of the term field and Add a Term.
- Sales Rep – Enter the name of the sales representative you have assigned to this customer, if applicable.
- Inside Sales Rep – This can be used to assign an inside only person to their account. It could also be a CSR that is responsible for their account.
- Markup Method – If a default markup method has been selected in preferences (Edit | Preferences |Customer:Jobs | Company Preferences), this will auto-fill here. It can be adjust and modified.
- Department – If the customer or job belongs to a particular department, select it here from the drop down menu.
- Work/Ship Method – Select (if applicable) a particular work/ship method associated with the Customer:job.
- Marketing – Select from the drop-down menu the Marketing media that brought the customer to your company. You may also create a new Marketing media, if the Marketing media you need is not in the list. Click on the hand icon to the right of the Marketing field and Add a Marketing media type.
- No Marketing By: – Tick the box or boxes for the corresponding marketing channels to exclude a customer when doing a marketing campaign.
- Any & All
- Direct Mail
- Fax
- Text
- Email Telephone
- Never Assess Finance Charges – Ticking this checkbox ensures that the customer will never be made available when assessing finance charges on overdue accounts.
- Never Create Statements – Ticking this checkbox ensures that the customer will never be made available when generating statements to customers.
- Pop-up Notes form when creating work orders, invoices, etc. – Ticking this checkbox causes the customer notes to automatically appear when work orders, invoices, and such for the customer are opened.
- Pop-up Notes form when opening this customer:job – Ticking this checkbox causes the customer notes to automatically appear when opening this customer:job form.
- Pop-up Notes form when opening their contact log – Ticking this checkbox causes the customer notes to automatically appear when opening their contact log.
- Never Assign Sales Commissions to the Customer:Job – Ticking this checkbox causes the customer to be excluded from applicable commissions.
- User Defined Fields – Enter information not found on the standard form. Select from the list or create your own.
Related Content
https://www.aptora.com/help/marketing-type/

